We were recently called to a home in Conshohocken, Pennsylvania, just off Fayette Street near the restaurants and bars that make up the downtown strip. The homeowners had invested in finishing their basement, adding a new bedroom and bathroom to create a living space for their in laws who were moving in. Then their hot water tank burst.
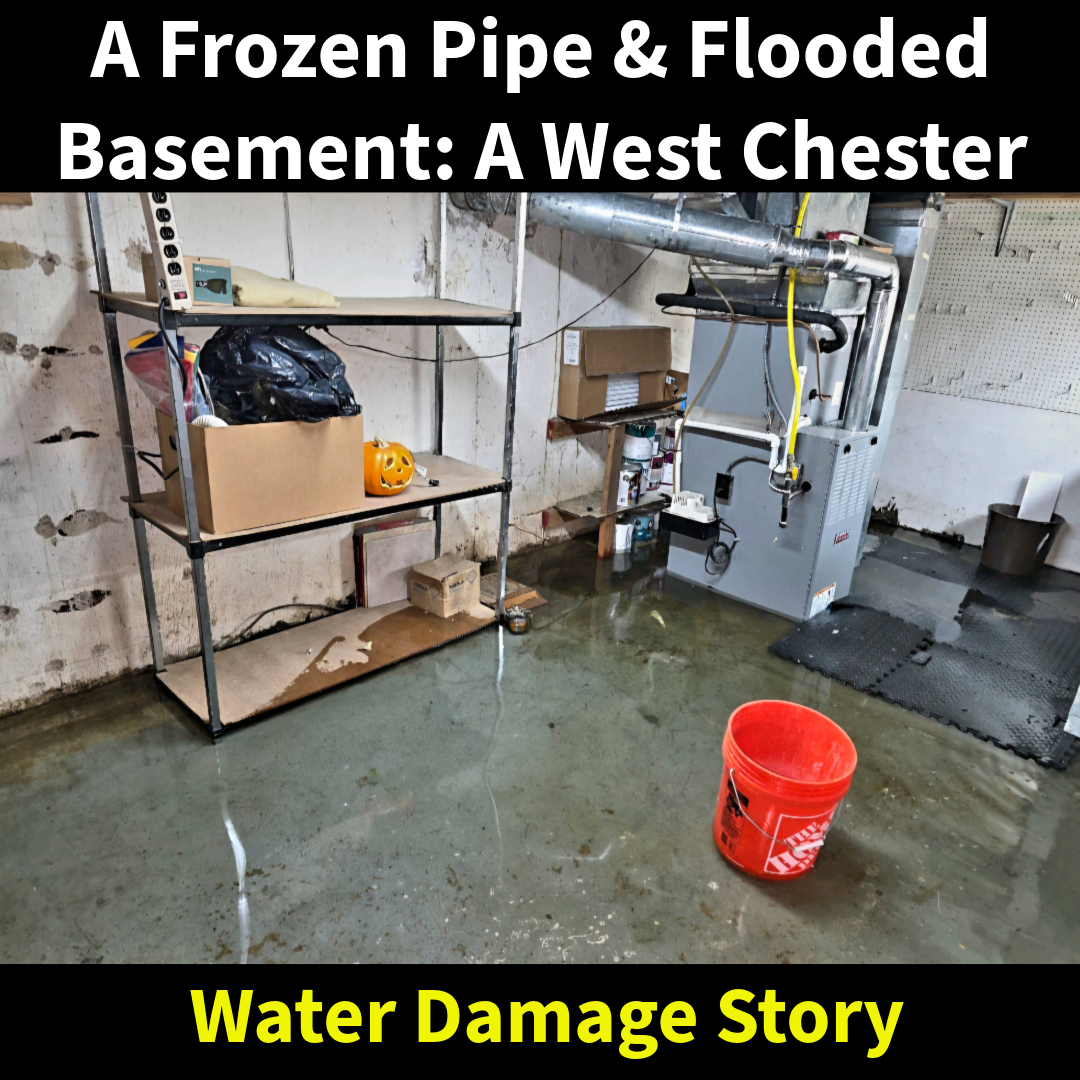
By the time we arrived, there was approximately six inches of water throughout the finished portion of the basement. Drywall had wicked up moisture from the floor. Laminate flooring was buckling and separating. Furniture that had been sitting directly on the floor was saturated and unsalvageable. What had been a comfortable, finished living space was now standing water. The surprising part? The water heater was only six years old.
Why This Tank Failed So Quickly
Six years earlier, the original 50-gallon tank had been replaced with a 40-gallon unit. Around that same time, the homeowners added a bedroom and bathroom to make an ensuite for their family moving in. The number of occupants increased, and so did the hot water demand. But the tank capacity went down.
According to the plumber, the failure was likely due to overuse. An undersized tank cycles more frequently and works harder to keep up with demand. That constant strain accelerates wear inside the tank. It’s something most homeowners never consider when replacing a water heater. They focus on price or assume a smaller unit is sufficient without factoring in lifestyle changes. In this case, the mismatch between demand and capacity likely shortened the tank’s lifespan dramatically. After mitigation and repairs were complete, the homeowners installed a properly sized 75-gallon unit.
What Six Inches of Water Does to a Finished Basement
Finished basements are especially vulnerable because the damage often extends beyond what you see. In this Conshohocken home, we had to remove saturated drywall, baseboards, and trim. The laminate flooring was beyond saving. Portions of the newly built bedroom and bathroom had to be opened up for proper drying. For mitigation purposes, the finished section had to be taken back to a partial unfinished state.
Drying equipment was installed, moisture levels were monitored, and the goal was to prevent secondary issues like mold growth behind walls and under flooring. Water in a finished basement doesn’t stay contained. It travels under materials and into cavities. And when hot water tanks burst, the water keeps running until someone shuts off the supply. In this case, the tank burst and ran for hours as the owners were all out at a family function, allowing hundreds of gallons of water, if not more, to spread throughout the basement before cutting off the supply.
Other Common Reasons Hot Water Tanks Fail
While undersizing and overuse were the primary factors in this situation, there are several other common causes of water heater failure:
Internal Corrosion gradually weakens the steel tank from the inside out.
Sediment Buildup collects at the bottom of the tank and traps heat, increasing stress on the metal.
Temperature Settings that are too high increase pressure and strain components.
Improper Venting can create overheating and safety issues.
Old Age remains one of the most common causes, with most tank systems lasting between eight and twelve years.
The Real Takeaway for Homeowners
When replacing a water heater, capacity matters. If you’ve added bathrooms, finished a basement, or increased the number of people living in your home, your hot water demand has changed. The size of the tank should reflect that. Saving a few dollars on a smaller unit can end up costing far more in water damage repairs.
If you live in Conshohocken or surrounding Montgomery County communities and have a finished basement, it’s worth asking whether your current tank is properly sized for your household. Because when a water heater fails, it doesn’t care how new it is. It only takes one weak point and a few minutes for water to change everything. For emergency water damage restoration in Conshohocken, or water damage restoration in Montgomery County, call us at MSI.