When a fire breaks out, the fire department’s priority is saving lives and stopping the flames. To do that, they often have to break windows, force open doors, or cut through the roof. While those actions are necessary in the moment, they leave your home exposed once the fire trucks leave.
That’s where emergency board-up services come in. Securing the property after a fire isn’t just about safety — it’s about protecting your home from further damage and making sure your insurance claim isn’t jeopardized.
Why Emergency Board-Up is Necessary
After a fire, your home is vulnerable. Gaping windows, broken doors, and damaged roofing allow:
- Rain and snow to enter, leading to water and mold damage.
- Thieves or vandals to gain easy access.
- Animals and pests to make their way inside.
Worse, if someone enters your unsecured property and gets hurt, you could be held liable.
Common Openings After Fire Department Response
Even a small fire can leave a home wide open. It’s common to see:
- Shattered windows from firefighting efforts.
- Holes cut in the roof for ventilation.
- Garage doors forced open or left inoperable.
- Entry doors broken during rescue operations.
Every one of these openings is an invitation for more damage if left unattended.
The Risks of Leaving a Fire-Damaged Home Unsecured
- Secondary water damage when rain or snow gets inside.
- Structural deterioration as moisture weakens materials.
- Theft of valuables, tools, or copper piping.
- Legal and insurance issues if the property isn’t properly protected.
Insurance companies expect homeowners to take steps to mitigate further damage. Failing to secure your home can sometimes give them reason to reduce or deny coverage.
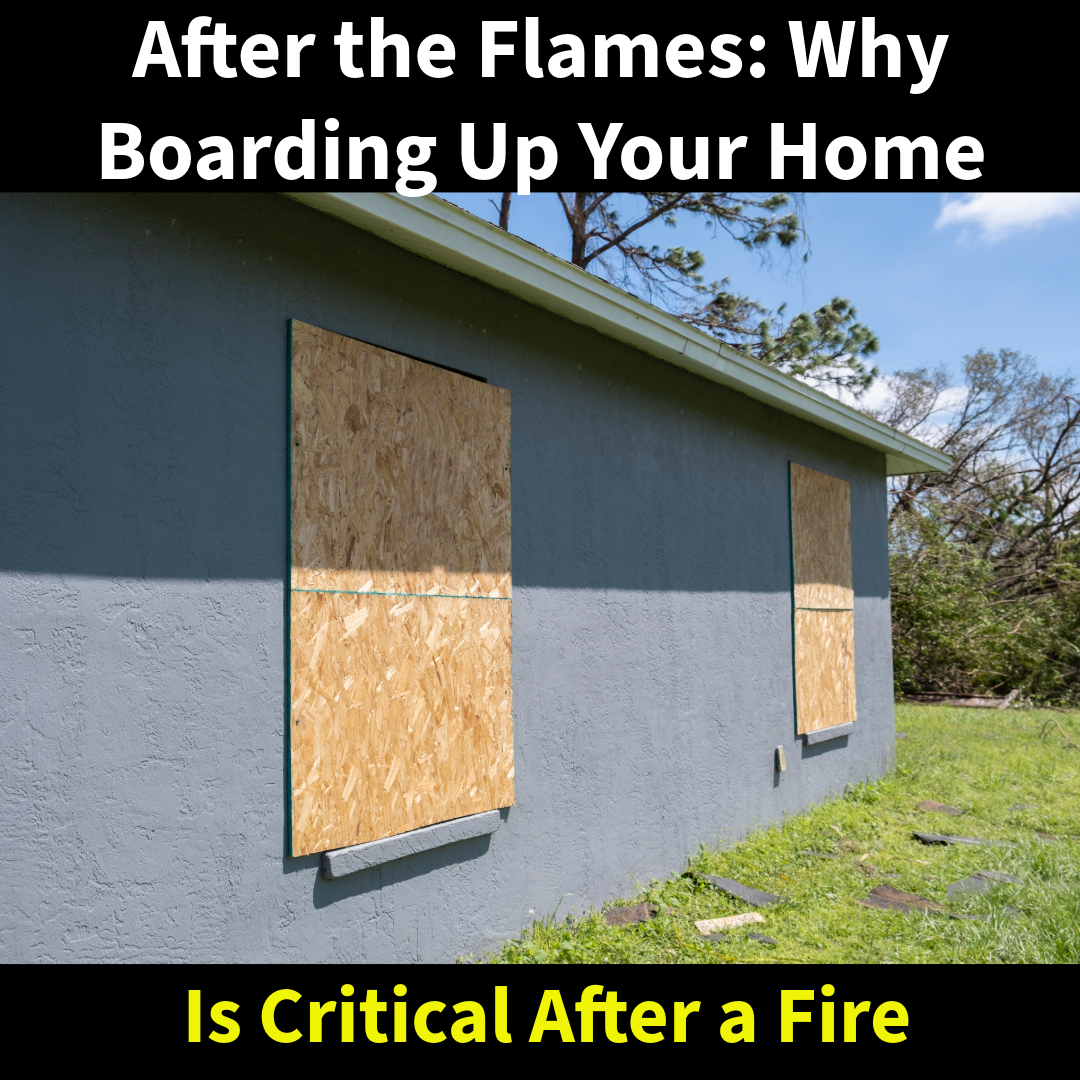
What Proper Board-Up Includes
Professional fire damage contractors like MSI move fast to:
- Secure all windows, doors, and roof openings with plywood and heavy-duty tarps.
- Install temporary fencing or barriers if necessary.
- Change or secure locks to restrict access.
- Provide documentation and photos for your insurance adjuster.
This isn’t a quick DIY project — it requires the right equipment and training to keep both you and the property safe.
Why Call MSI for Emergency Board-Up
Boarding up a fire-damaged home is about more than hammering in plywood. At MSI, we:
- Respond 24/7 to secure properties the same day.
- Follow IICRC safety standards for handling fire-damaged structures.
- Provide the paperwork your insurance company expects.
- Move seamlessly from board-up to fire and smoke cleanup, so you’re not juggling multiple contractors.
Protect Your Home Immediately
If you’ve just experienced a fire, don’t let your home sit exposed. A fast board-up is the first step toward recovery — and it prevents the situation from getting worse.
MSI is available 24/7 for emergency fire board-up and cleanup services. Call us today at 215-339-1769 to secure your property and start the restoration process.