How to Prevent Mold Growth After Water Damage

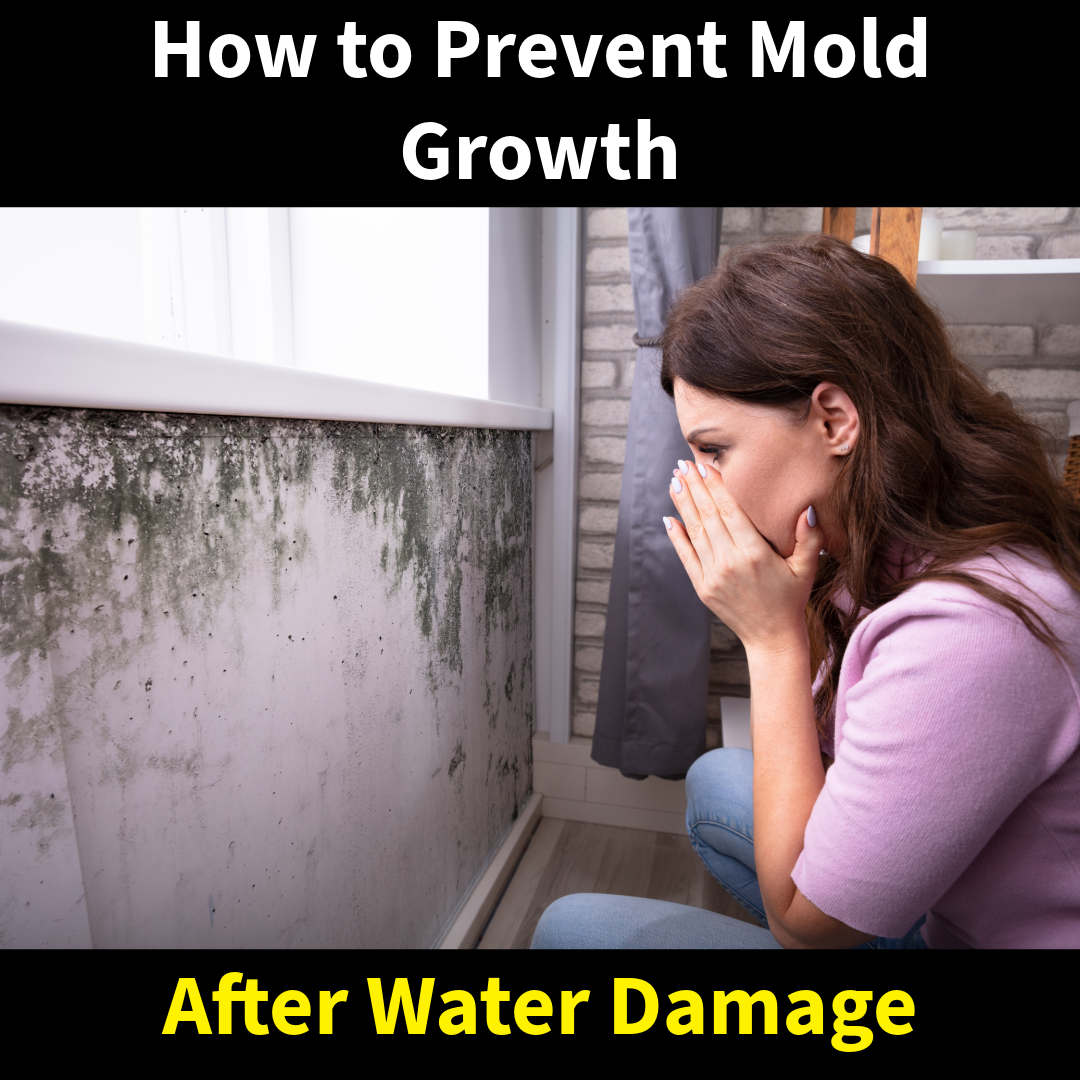
Water damage can wreak havoc on your home, and one of its most persistent and hazardous consequences is mold growth. Mold can start growing within 24-48 hours after water exposure, causing health risks and structural damage if left unchecked. Fortunately, with prompt action and the right steps, you can prevent mold from taking hold in your home.

Here’s a comprehensive guide to preventing mold growth after water damage.

1. Act Fast: Time is Critical

Mold thrives in moist environments, so addressing water damage quickly is essential. The longer water sits, the more likely mold spores will spread and grow.

What to Do:

  • Begin water removal immediately.
  • Contact a professional restoration company if the damage is extensive.

2. Remove Standing Water

Standing water creates an ideal breeding ground for mold. Use tools like wet/dry vacuums, mops, and towels to remove as much water as possible.

Pro Tip: If the area is heavily flooded, call a professional for safe and efficient water extraction.

3. Dry the Area Thoroughly

Even after water is removed, damp materials and surfaces can still promote mold growth.

Steps to Take:

  • Use fans and dehumidifiers to speed up the drying process.
  • Open windows and doors to improve ventilation (weather permitting).
  • Remove soaked carpets, padding, and furniture to dry them separately.

Key Tip: Monitor humidity levels using a hygrometer. Keep indoor humidity below 50% to inhibit mold growth.

4. Dispose of Unsalvageable Items

Some materials are difficult to dry completely and may need to be discarded to prevent mold.

Items to Watch:

  • Water-damaged drywall and insulation.
  • Carpets and rugs soaked for over 24-48 hours.
  • Upholstered furniture and porous items like books or cardboard.

Pro Tip: Always follow local disposal regulations for damaged items.

5. Clean and Disinfect Affected Areas

Cleaning surfaces after water damage helps remove any mold spores that may have already settled.

What to Use:

  • A mix of detergent and water for general cleaning.
  • A solution of one cup of bleach to one gallon of water for hard surfaces (never mix bleach with ammonia or other cleaners).

Important: Wear protective gear, such as gloves and masks, when cleaning to avoid exposure to mold spores.

6. Inspect Hidden Areas

Mold often grows in hidden places, such as behind walls, under flooring, or in HVAC systems.

Key Areas to Check:

  • Inside wall cavities.
  • Underneath carpets and floorboards.
  • Behind large furniture or appliances.

Tip: If you suspect mold in hidden areas, consider hiring a professional for a thorough inspection.

7. Replace and Repair Damaged Materials

Some materials, like drywall, insulation, and wood, can retain moisture even after drying. Replacing them reduces the risk of future mold growth.

What to Replace:

  • Severely water-damaged drywall and insulation.
  • Warped wood or compromised structural materials.

8. Prevent Future Water Damage

The best way to combat mold is by stopping water damage before it starts.

Preventative Measures:

  • Fix leaky roofs, pipes, and appliances promptly.
  • Ensure gutters and downspouts direct water away from your home.
  • Seal windows, doors, and foundations to prevent water infiltration.

9. Use Mold-Resistant Products

When rebuilding after water damage, opt for mold-resistant materials to safeguard your home.

Options Include:

  • Mold-resistant drywall.
  • Mold-inhibiting paint.
  • Moisture-resistant flooring.

10. Call in the Professionals

If the water damage is extensive or mold growth has already begun, it’s best to consult experts. Professional restoration companies have the tools, training, and experience to safely and effectively handle water damage and mold prevention.

Benefits of Professional Help:

  • Industrial-grade drying and dehumidification equipment.
  • Specialized cleaning solutions and techniques.
  • Peace of mind knowing your home is safe and mold-free.

Why Mold Prevention Matters

Mold not only damages your home but can also pose significant health risks, including:

  • Respiratory problems.
  • Allergic reactions.
  • Aggravation of asthma symptoms.

Preventing mold growth after water damage protects both your property and your family’s health.

We’re Here to Help

Dealing with water damage can be overwhelming, but you don’t have to face it alone. At Mold Solutions & Inspections, we specialize in water damage restoration and mold prevention, offering fast and effective solutions to protect your home.

Contact us today for expert assistance, and let us restore your home to its original condition—mold-free and safe!

How to Prevent Pipes From Freezing

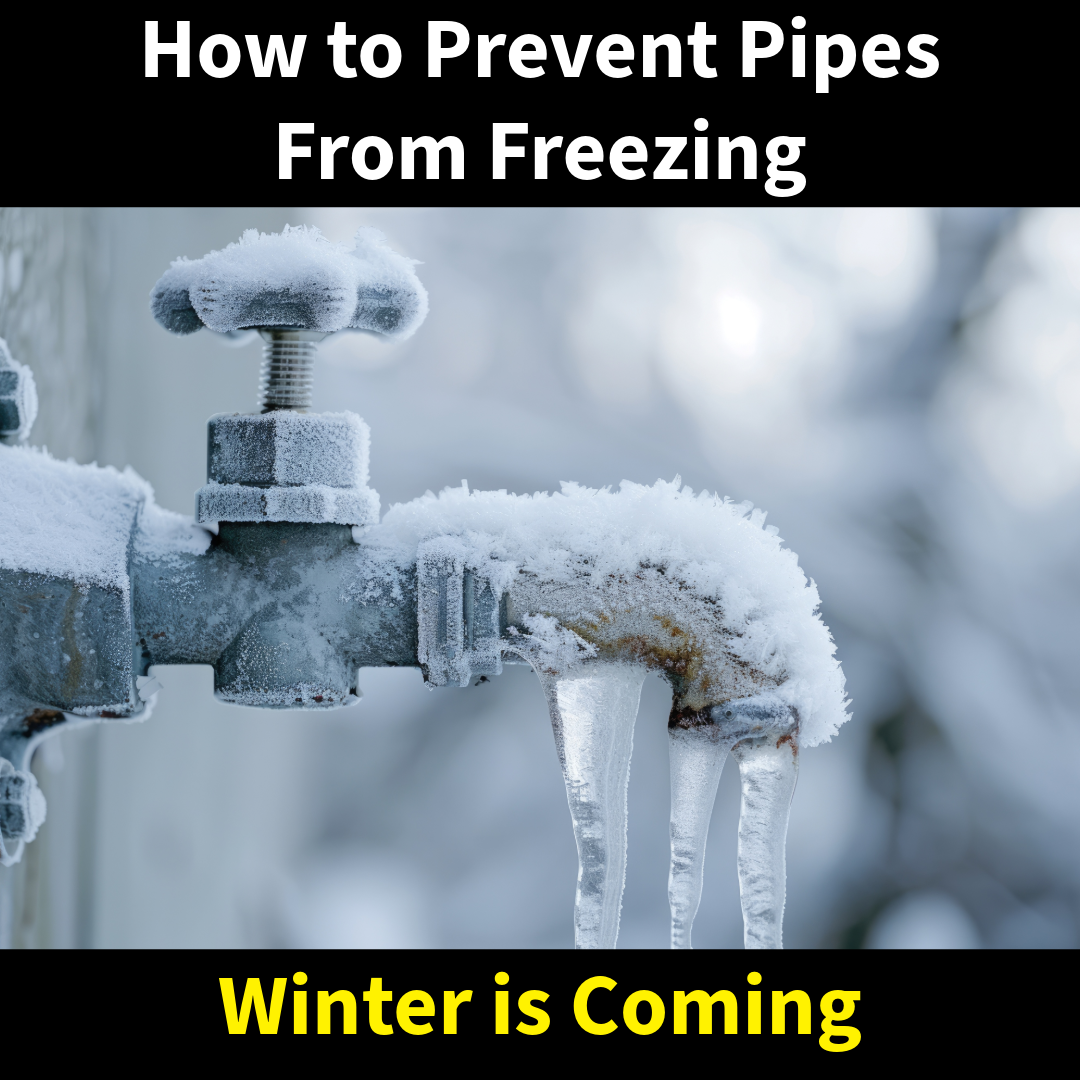
Winter can be beautiful, but freezing temperatures pose a significant threat to your home’s plumbing system. Frozen pipes can burst, leading to extensive water damage and costly repairs. Luckily, with the right precautions, you can safeguard your pipes and keep your home warm and dry. Here’s a step-by-step guide to help you prevent frozen pipes this winter.

1. Insulate Exposed Pipes

Exposed pipes are the most vulnerable to freezing, especially those in unheated areas like basements, attics, garages, and crawl spaces.

  • Use pipe insulation: Wrap pipes with foam insulation sleeves, fiberglass wrap, or even heat tape for added protection.
  • Focus on vulnerable areas: Pay special attention to pipes along exterior walls or in colder zones of your home.

2. Seal Gaps and Cracks

Cold air can seep into your home through gaps and cracks, increasing the risk of frozen pipes.

  • Seal exterior openings: Use caulk or spray foam to close gaps around windows, doors, and where pipes enter the home.
  • Insulate your home: Add insulation to walls and attics to keep the cold out and the heat in.

3. Keep the Heat On

Consistent indoor temperatures are crucial to preventing frozen pipes.

  • Set your thermostat: Maintain a temperature of at least 55°F (13°C) even if you’re away from home.
  • Keep interior doors open: Allow warm air to circulate around pipes, especially those in cabinets or closets.

4. Let Faucets Drip

Running water is less likely to freeze, so keeping your faucets slightly open can help.

  • Target vulnerable pipes: Let cold and hot water drip from faucets connected to exposed or exterior-facing pipes.
  • Prevent pressure build-up: If a pipe does freeze, a dripping faucet can reduce the risk of it bursting.

5. Drain and Shut Off Exterior Water Lines

Water in outdoor pipes and hoses is highly susceptible to freezing.

  • Disconnect hoses: Remove and store garden hoses before winter.
  • Shut off outdoor valves: Turn off and drain water from outdoor spigots and sprinkler systems to prevent freezing.

6. Use Heat Tape or Heating Cables

These specialized tools can be a lifesaver for pipes in extremely cold climates.

  • Apply heat tape: Wrap heat tape around pipes for direct warmth.
  • Follow safety guidelines: Choose products with built-in thermostats for energy efficiency and safety.

7. Monitor Your Home During Extreme Cold

During severe cold snaps, it’s essential to stay vigilant.

  • Check vulnerable pipes regularly: Inspect pipes in colder areas for signs of frost or ice.
  • Prepare for emergencies: Keep a hairdryer or portable space heater on hand to thaw pipes safely if they begin to freeze.

8. Winterize Your Home Before Leaving

If you’re heading out of town during the winter, take extra precautions to prevent frozen pipes.

  • Shut off the main water supply: This minimizes damage in case a pipe bursts.
  • Drain your pipes: After shutting off the water, open all faucets to empty the lines.
  • Leave the heat on: Set your thermostat to at least 55°F to keep your home warm.

Signs Your Pipes Might Be Frozen

If you notice any of the following, act quickly to prevent a burst pipe:

  • Reduced or no water flow from faucets.
  • Frost on visible pipes.
  • Strange odors coming from your drains.

What to Do If Your Pipes Freeze

If you suspect a pipe has frozen:

  1. Turn off the water supply: Prevent pressure build-up in the pipes.
  2. Thaw pipes safely: Use a hairdryer or heating pad to warm the pipe gradually. Never use an open flame.
  3. Call a professional: If you can’t locate the frozen section or suspect damage, contact a plumber immediately.

Conclusion

Preventing frozen pipes requires a combination of preparation, insulation, and vigilance. By following these steps, you can protect your home from winter plumbing disasters and enjoy the season worry-free.

If you’ve already experienced frozen or burst pipes, Mold Solutions & Inspections is here to help! We specialize in water damage restoration and mold prevention in Bucks County, PA, and Delaware County, PA. Contact us today for professional assistance.

Need Help?
Call us at 877-712-1600 or visit WeAreMSI.com to schedule an inspection and protect your home this winter!

Does Homeowners Cover Water Damage?

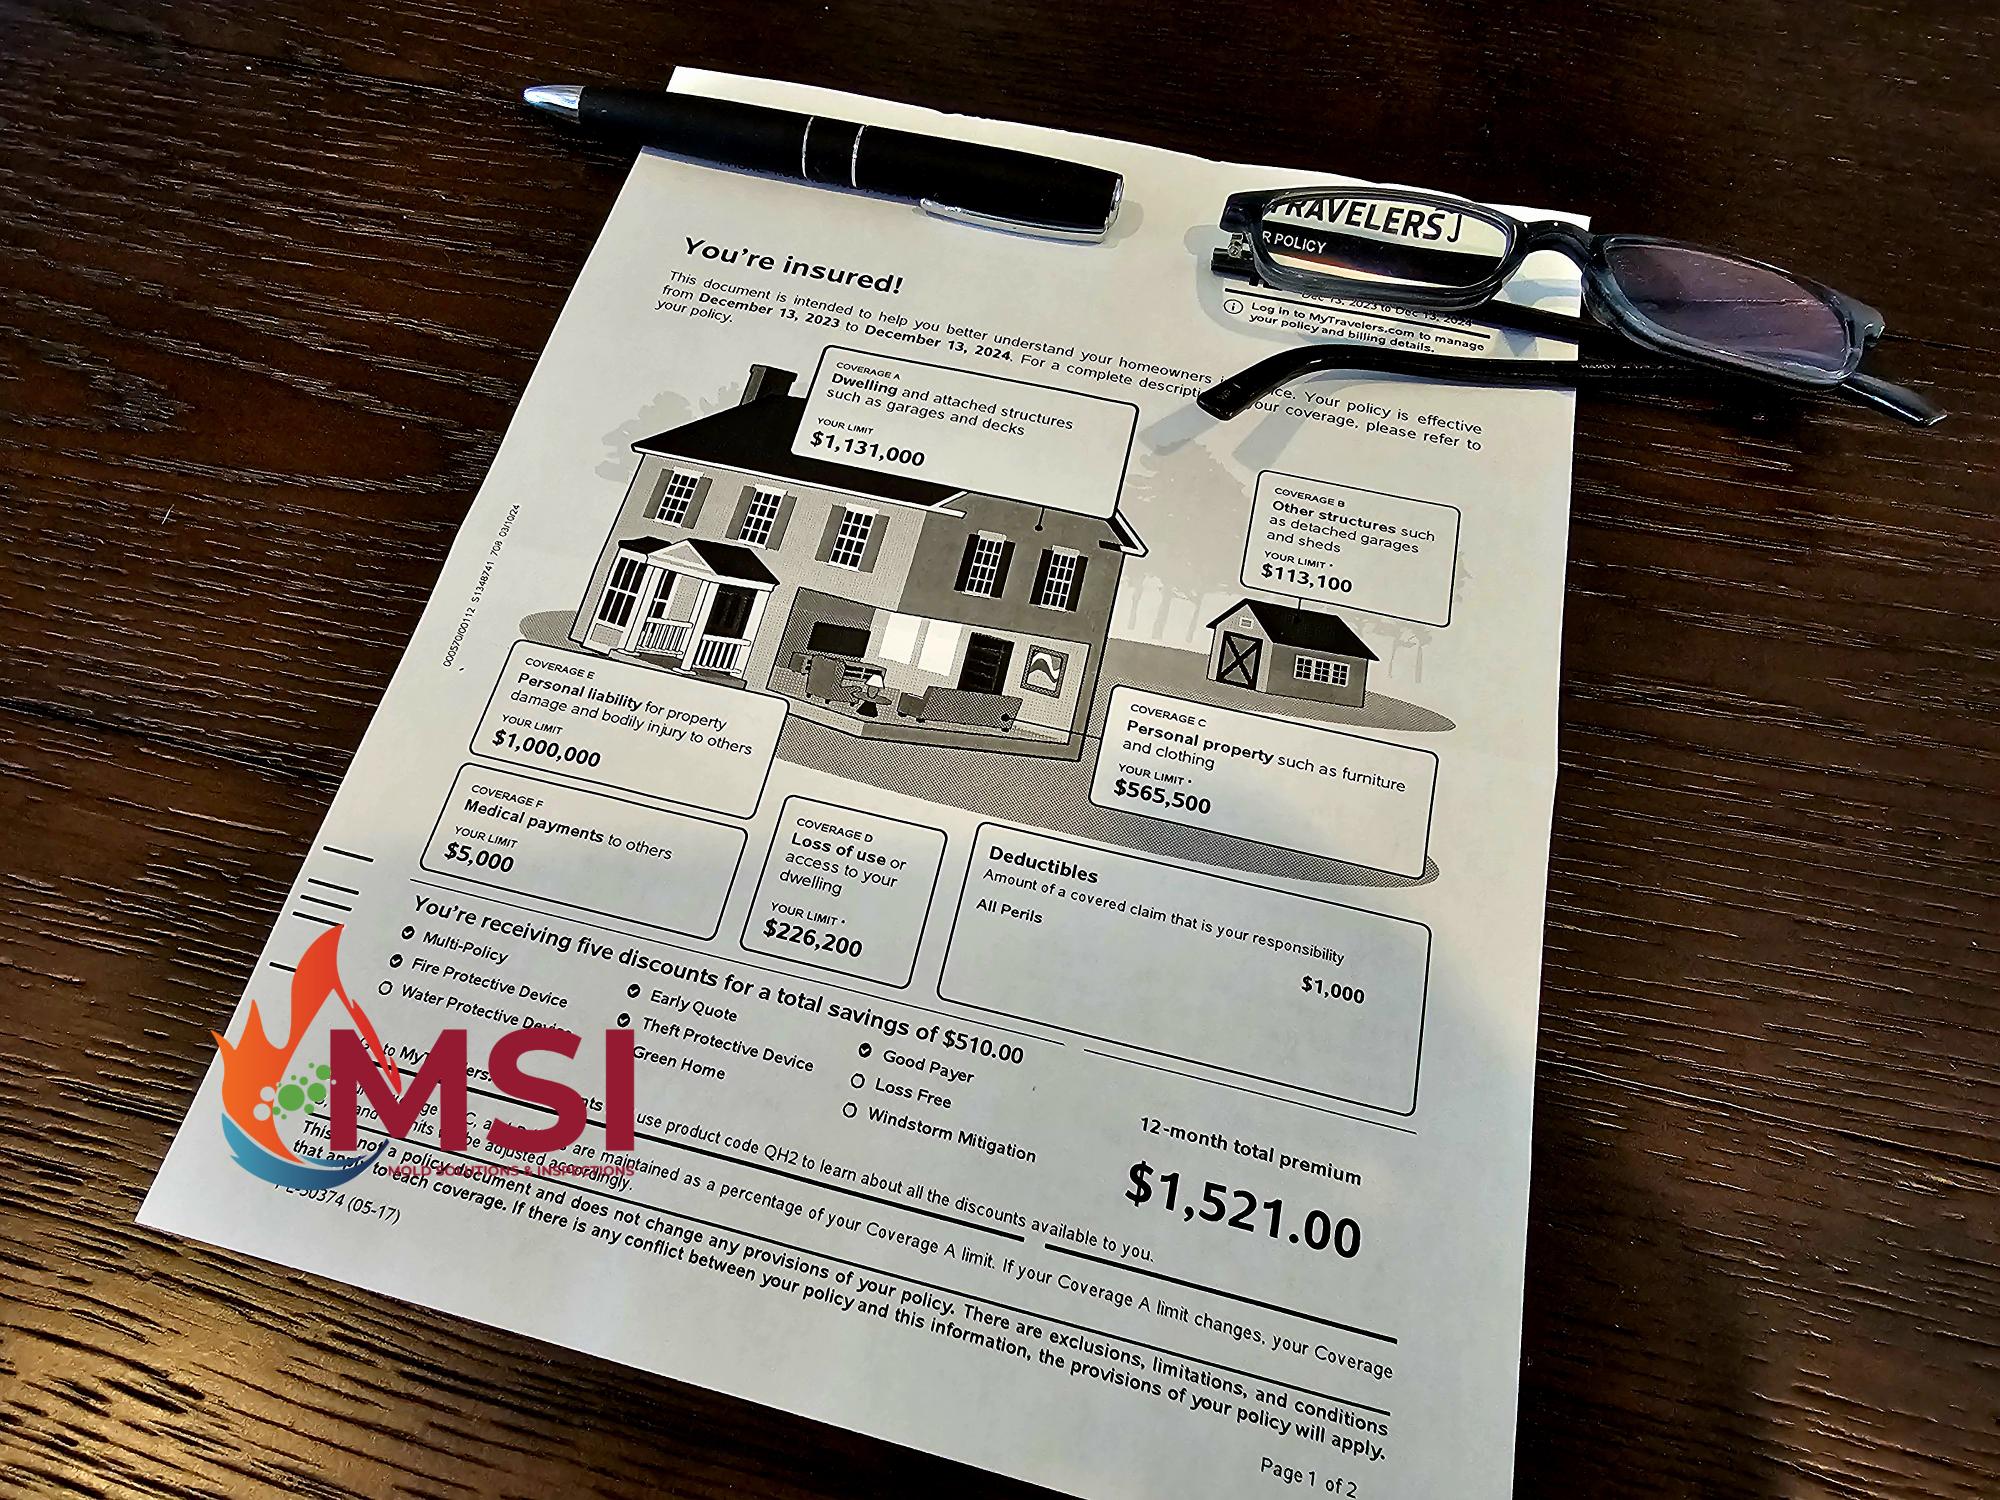
Homeowners insurance is a must have to protect yourself and your belongings from a catastrophic loss. But most homeowners have never filed a claim, nor do they know what is even covered. Generally, if the cause is sudden and accidental — if an appliance or bathroom fixture springs a leak or a storm blows a tree through your roof and rain pours in — the typical homeowners insurance policy covers resulting water damage. It will not fix the root cause, only the damage sustained from the loss. Example: If your roof leaks and you’re covered for such a loss, it’ll cover the ensuing damage but it won’t cover a new roof or a roof repair. Otherwise no one would ever get a new roof, they would just wait for their old roof to leak.

If the cause is gradual (over a long period of time, or what the insurance company deems as a long period of time), and preventable, including wear and tear or a lack of maintenance, then water damage is generally not covered by home insurance. For example, damage caused by a leak from a rusty old pipe or a roof with missing shingles that’s past its replacement age likely isn’t covered.  

Flooding and sewage backups are usually not covered, unless you have a separate flood and/or backup policy added to your insurance. Sump pumps need to have backup coverage and also need to be noted in your policy to have a claim covered if you have a sump pump failure. There are also coverage limits you’ll need to check as some backup policies can be as little as $5,000. The extra fees in monthly charges may be worth it as most water damage claims for sump pump backups with reconstruction can easily reach $10,000 and even higher for sewer loses.

Regular maintenance of your plumbing and appliances can help eliminate or decrease your chances for a flood. But in the event of water damage in your home or business, it is always better to know what you’ll be covered for and what is not covered. Consult with your agent about your coverage limits. In the event of a water loss, our 24 hour emergency service team at Mold Solutions & Inspections is at the ready and we can work directly with your insurance company if the event of a claim.